



Have you ever needed voice dictation but couldn’t find a way to do it on Linux? Mageia offers Elograf with everything you need to get it working with just a few clicks. Let’s get started!
Tutorial – Installation
From our Mageia repositories
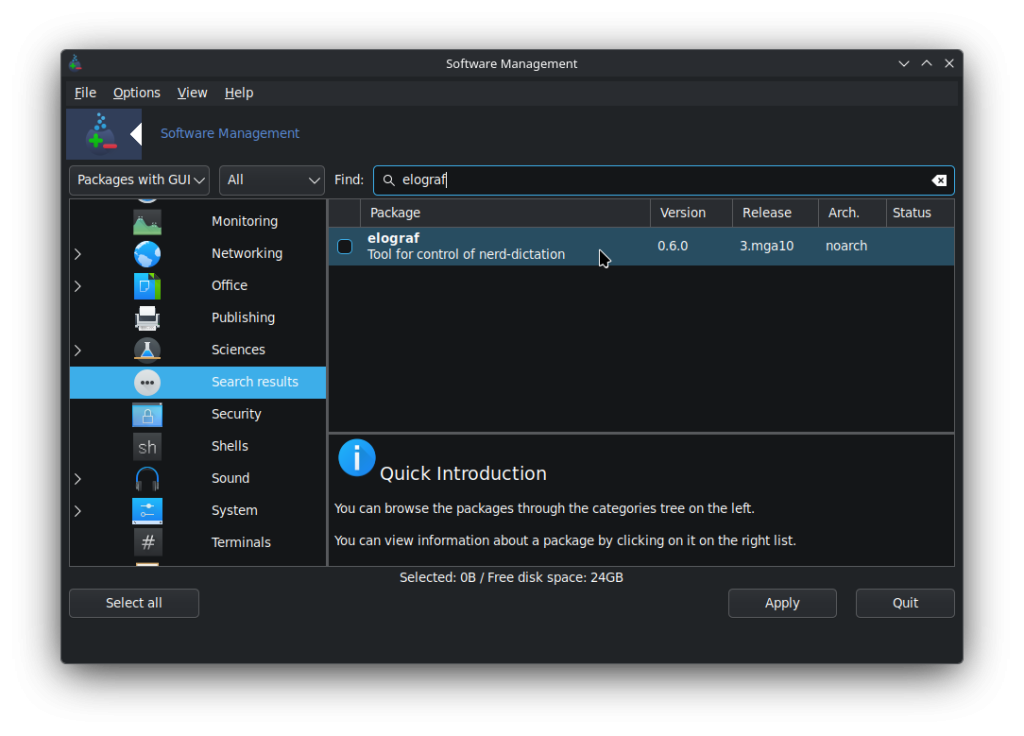
Since the release of Mageia 9, installing Elograf from our repositories is as simple as selecting the application from the package manager from “Install and remove applications” in the start menu or by entering the Mageia Control Center (MCC), and Mageia will install all the necessary packages to make Elograf fully functional, including kaldi, vosk-api, and nerd-dictation.
Voice model installation
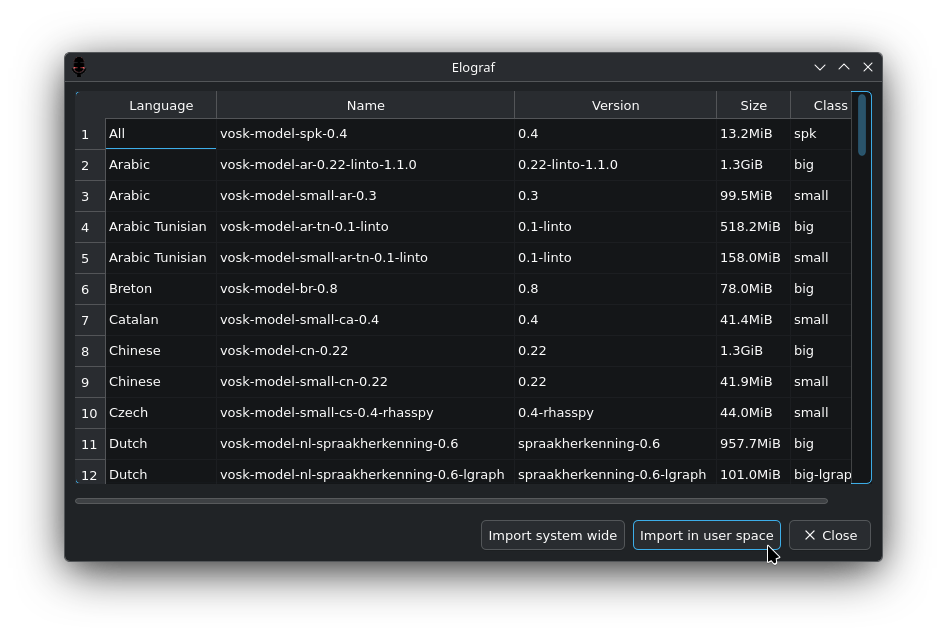
The program requires a voice model function. This model is specific to each language. The available models are listed on this page. The tests were performed using one of the extended models from the link mentioned above. These models can also be downloaded directly from Elograf and can be saved in either user or system space (root password required for this option).
Use
When you launch Elograf from the Mageia application menu, a microphone icon will appear in the system tray, which is disabled by default. Clicking the icon will activate Elograf and begin voice dictation.

Right-clicking displays a menu that allows you to start dictation or access the settings. The settings menu shows options for adding models both locally, by downloading the file from the aforementioned link and specifying the saved location, and online. In the latter case, Elograf will open a list of available models for download and prompt you to choose the installation location, offering the option to install it in the user’s space or the system space from the same window.
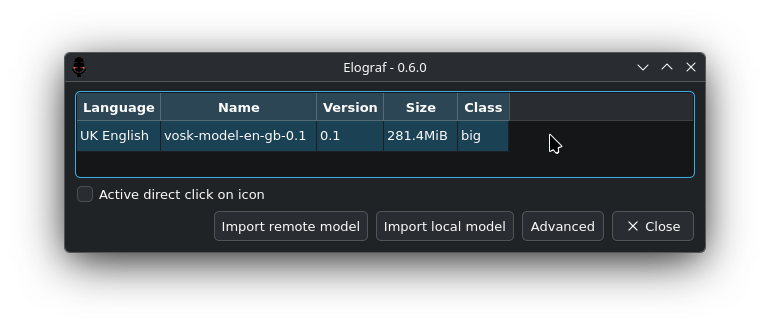
By choosing “Activate direct click on the icon”, the start of dictation is controlled by a left click on the icon.
It is recommended to add Elograf to the list of applications set to run automatically at system startup. This will add its icon to the system tray, allowing quick access to commands. The method for configuring this option depends on your desktop environment.
After these settings, you can go to the application where you would normally write text, such as Libreoffice Writer, place the cursor where you want to start and begin dictating. At launch, you may have to wait a little while before the first vocalizations are recognized; this is the template’s loading time.
Some of the advantages you can find with this application:
- Offline dictation. Voice recognition is performed using Vosk and locally downloaded models, so there’s no need to send the audio to a cloud service. This provides privacy and allows dictation even without an internet connection.
- Works in almost any application. The recognized text is entered into the currently active application, so it can be used in text editors, browsers, email, forms, etc.
- Saving on text when writing long texts. Speaking is usually faster and more comfortable than typing large amounts of text, especially for drafts, notes, emails, or documents.
- Reduced keyboard usage. Especially useful when you want to decrease continuous keyboard use or alternate between typing and dictation.
- Control from the system tray.
- A selection of different downloadable language packs.
- Simple setup, compatibility with X11 and Wayland (For Wayland, the keyboard emulator should be set to “DOTOOL” in the “Advanced settings”, with the keyboard specified.
- Open source.
More information in our Wiki!: Voice recognition in Mageia.
